Contents
- Overview
- Installing
- Tour of the Pipelines
- Defining Epics
- Planning Sprints
- Monitoring Progress
- Tips and Tricks
Overview
ZenHub is a plug-in for your browser that connects to GitHub. It offers Kanban-style boards, called “workspaces,” which the NDCLab uses to visually manage projects. When an issue is created inside GitHub, it automatically appears on the New pipeline on an associated ZenHub workspace. In general, each repository is connected to one workspace, but it is possible to connect multiple repositories in special circumstances where this would be beneficial to project management.
Installing
- Before you install ZenHub, get yourself with git. It is important that you are already a member of the NDCLab organization on GitHub before you install the ZenHub extension.
- Download the ZenHub extension, which is currently available for Chrome and Firefox. You can do this directly from the browser extension store or using the link available from ZenHub.
- During this process, you will need to authorize ZenHub to see your personal and organization repositories.
- After installing, you’ll probably find yourself within the ZenHub app. Some lab members prefer to operate in this interface, but you will want to hop back over to GitHub to get your bearings first. On the same browser where you installed ZenHub, re-navigate to the NDCLab GitHub page. If you click on any repository, you should now see the “ZenHub” tab within that repository.

Tour of the Pipelines
When a new workspace is created, it uses the NDCLab default pipelines. These are customized for each NDCLab workspace into the following pipelines.
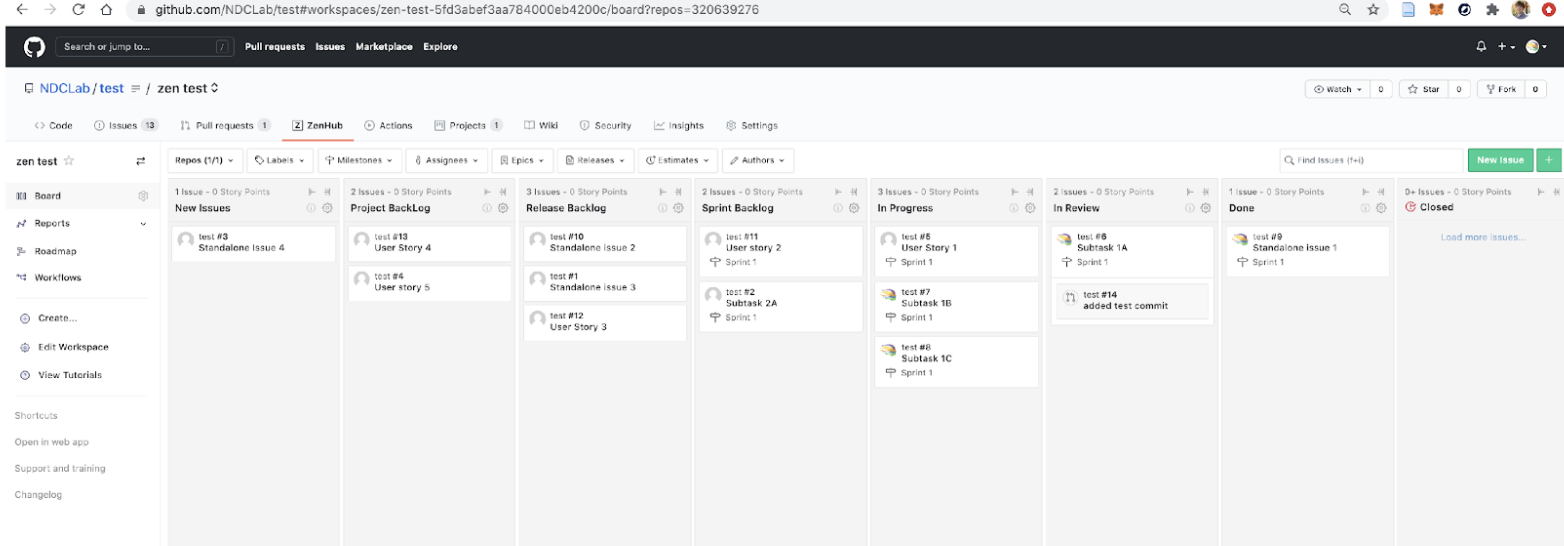
| Pipeline Name | Pipeline Descriptor | Pipeline Purpose |
|---|---|---|
| New Issues | Issues to be reviewed and estimated before being added to the Project Backlog. | All new issues created in the connected repo(s) are automatically displayed in this pipeline. Issues should immediately be moved to the appropriate Backlog pipeline after creation. In general, New Issues should be empty. |
| Project Backlog | List of all work to be completed during the project. Items here can be relatively large and abstract (e.g., release goals) or be specific tasks. | The Project Backlog should begin with the tile for the Epic that will come after the current Epic in progress. For example, if the current Epic is “v1”, then the Project Backlog would start with the “v2” Epic tile. This is followed by all issues that will be included in the v2 Epic. Next is the “v3” Epic tile and its associated issues, and so on. Completing all issues within the Project Backlog will accomplish the project goal. |
| Release Backlog | Upcoming work for current release (all assigned to same Epic). Items should be more refined and broken-down, prioritized top-to-bottom. | The Release Backlog should begin with the tile for the current Epic (for instance, “v1”), followed by all incomplete issues for the v1 release. Better defined and higher priority issues should be at the top; lower priority issues and issues that are still rather abstract (requiring better definition/granularity before they are assigned to a sprint) should be at the bottom. In general, you will work through the Release Backlog from top to bottom. Completing all the issues in the Release Backlog means that the release will be ready for publication/distribution to the public. Note that there is never more than one Epic in the Release Backlog at a given point in time. |
| Sprint Backlog | Issues ready to be worked on in the sprint, prioritized top-to-bottom. | The Sprint Backlog is filled during a sprint meeting. Completing all the items in the Sprint Backlog completes the sprint. |
| In Progress | Issues currently being worked on by the team. | During the sprint, team members pull issues into the In Progress pipeline to communicate to one another that they have begun work on the issue. |
| Review/QA | Issues open to the team for review and testing. Complete, pending feedback. | During the sprint, team members move issues into the Review/QA pipeline when they have completed the issue and are awaiting the review and approval of team members before merging into an upstream branch. |
| Done | Completed issues, pending closure. | Issues that have passed the necessary review/QA are moved to Done. During the next sprint meeting, these issues will be formally closed. The Done pipeline is basically a temporary holding location to facilitate dialogue during the sprint review. |
| Closed | (no descriptor) | Issues move automatically into the Closed pipeline when they are completed and closed. It is recommended that you collapse the Closed pipeline (by clicking the little arrow at the top) to remove unnecessary noise in your workspace. |
Defining Epics
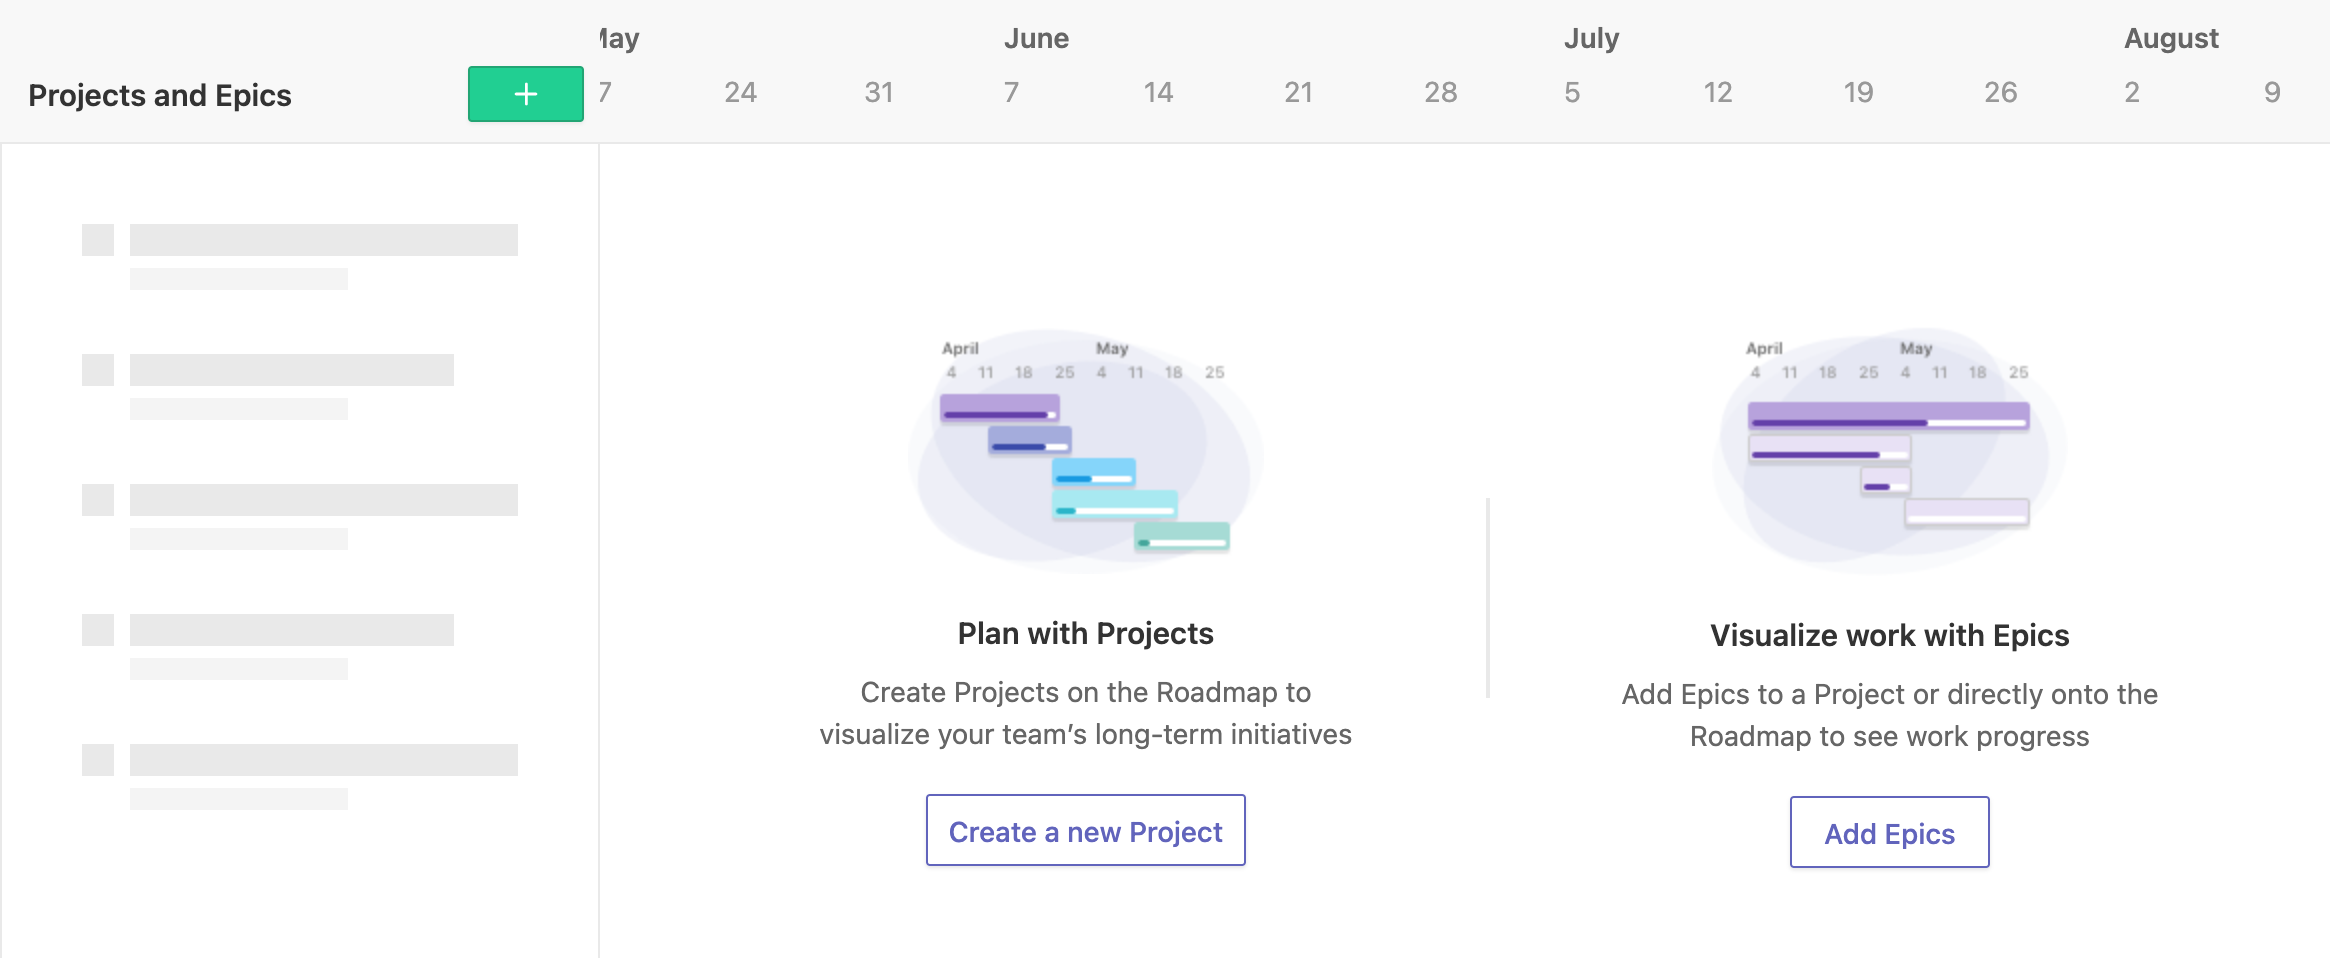
To view existing Epics, click on Roadmap from the left-hand navigation pane. If no epics have been defined, the page will look like this:
However, if one or more Epics has previously been established, you will see a Gantt-style chart, like this:

In this example, a single Epic has been defined based on an end date. Epics can be named by date in this way, or they can be named with a descriptive name. In both cases, Epics should be given a beginning and an end date.
You can define multiple Epics at the same time, either back-to-back or overlapping. To create a new Epic:
- Click the green
+button and select “New Epic.” - Input the name (end date or descriptor).
- Hover your cursor to the right of the name and click the three vertical dots that appear. Select “Set start and end date” from the dropdown.
- Input the dates of this Epic and click “Set Timeline.”
All planned project releases should be defined as Epics in ZenHub at project launch in order to provide team members with a visual overview of where the project is going and what progress has already been made in achieving the project goals.
The creation of an Epic also creates a GitHub issue for the Epic. This is really just a visual tile for the ZenHub board. Place the Epic associated with the next release at the top of the Release Backlog pipeline. Place all other Epics into the Project Backlog pipeline. Issues associated with each Epic should nest under the “Epic” tile within each pipeline.
Planning Sprints
You can set up sprints within ZenHub so that you can easily assign each issue to the current or an upcoming sprints during your sprint planning meetings. To turn on sprints in ZenHub:
- Click “Create on the left-hand navigation pane.
- Select “Set up Sprints for your team” from the dropdown.
- Leave the default selections on the left (“Move unfinished Issues to the next Sprint” should be turned on; “Automatically build new Sprints from the backlog” should be turned off).
- Select the start and end date of the first sprint. This establishes the pattern that ZenHub will carry forward. For instance, if you select one week for the first sprint, ZenHub will create a weekly cycle. If you select two weeks for the first sprint, ZenHub will create a bi-weekly cycle.
- Click “Create Sprints.”
- Open each issue that has already been assigned to the current sprint in your planning and formally assign it to the current sprint by selecting the sprint.
Monitoring Progress
If you and your team are diligent in establishing time estimates for each issue that you create, you will be able to track your overall progress on the roadmap view. ZenHub calls these time estimates “story points,” but it is easier to just think of them as rough working hours. Here is an example where one Epic is 47% complete and the Epic that follows is not yet begun:

This is useful for each project. Additionally, there is a lab-wide ZenHub workspace that enables the lab director to get a big-picture view of all lab projects and plan resources accordingly. The more diligent you are in estimating time and keeping your ZenHub board up-to-date, the more you facilitate smooth lab operations and time management.
Tips and Tricks
- Issues created in GitHub automatically appear in ZenHub. Issues created in ZenHub automatically appear in GitHub. They are interconnected.
- Follow the lab’s GitHub etiquette by moving issues into the appropriate pipeline as you proceed through the project process.
- Open ZenHub daily to check in: how are your team members faring with their tasks? Did you forget to move anything into an In Progress or Review/QA pipeline? What is next on the priority list?
- You can toggle between workspaces by clicking the “Switch Workspace” button (two stacked arrows) next to the current workspace name. By starring your preferred workspaces, you can find them more easily.