Contents
Overview
All new projects require the creation of a new Github repository by the lab manager or lab technician. New project repositories are typically initiated using one of the template repositories available in GitHub (template-tool, template-dataset, or template-analysis). Approval from the lab director is required prior to opening a new project repository. Each lab project requires time and resources, so the balance across the lab must be carefully maintained to ensure that each project is a success.
Setting Up a New Project
GitHub
Start with brainBox.
This is where all great ideas get incubated. If you believe that the brainBox process is not appropriate for your idea, talk to the lab manager or PI.
Create a new repo.
When you get the green-light from the lab director, ask the lab manager to create a new repo using the appropriate template repository:
- data collection projects: https://github.com/NDCLab/template-dataset
- data analysis projects: https://github.com/NDCLab/template-analysis
- tool development: https://github.com/NDCLab/template-tool
Be sure to tell the lab manager:
- the appropriate name for your new repository (which meets the requirements for project naming conventions)
- a pithy description of the project that will appear on the main lab GitHub page
- who will be leading the project and who will be part of the initial project team (so that everyone gets the correct access level on the new repository)
Draft the readme file.
Within the dev branch, draft the readme.md file that guides the development of your project.
Every repository should have a succinct readme.md file that serves as a roadmap for the project. This is the first thing you will commit to your new repository. The readme should include:
- a description of the project goal
- a roadmap for all the planned project releases
- major contributors to the project
The template repository used to create your new project repo contains a template readme.md file that will guide you through the initial process of drafting the readme.
As the project progresses, the readme should be updated to include information for any content releases, such as pre-registrations, conference posters, or working software releases.
Draft the contributing file.
Within the dev branch, draft the contributing.md file that informs visitors of how to contribute. The template repository used to create your new project repo contains a template contributing.md file that will guide you through the initial process of drafting.
At this initial setup stage, the main branch will be empty (except for the files that came with the default template, such as the license). The dev branch, however, will now contain your readme.md and contributing.md files.
Request the launch review.
Once you are satisfied with the readme and contributing files, initiate a pull request. Tag the lab manager, who will confirm that your repository is in good order and ready for the lab director’s review. Once you have the green-light from the lab manager, assign teh pull request to the lab director, who will perform a level 2 review (or delegate such a review to another appropriate lab member) to approve your planned roadmap and merge readme.md and contributing.md to main.
ZenHub
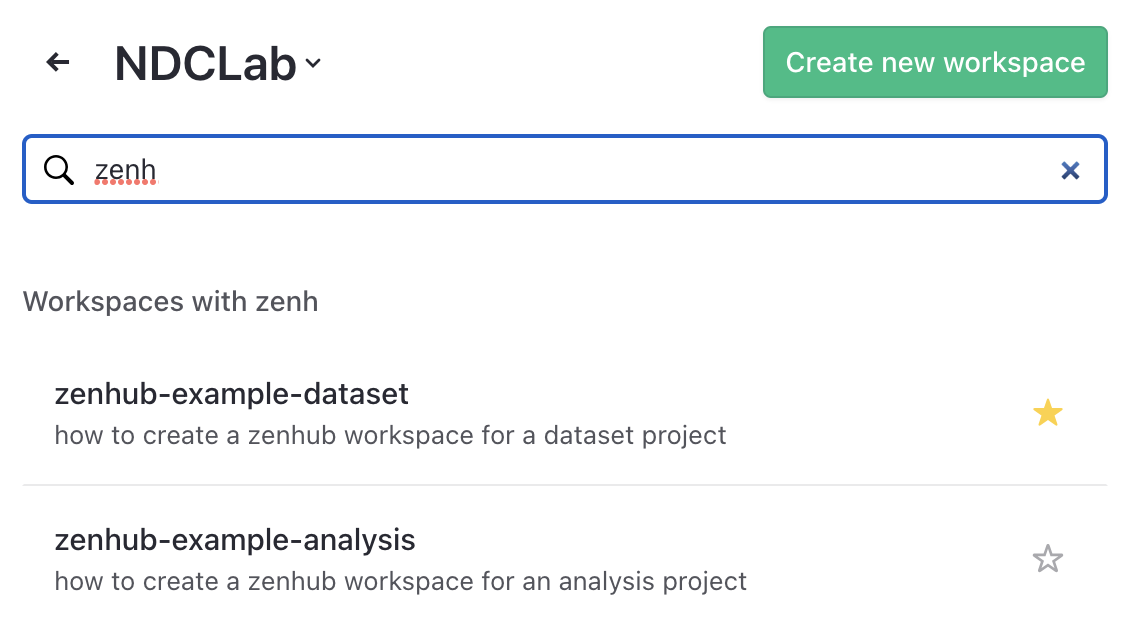
While you wait for approval of your planned roadmap, you can start to set up ZenHub. The lab manager will have created a ZenHub space for you during project setup. You can see examples of each kind of ZenHub board by searching by workspace name:
-
Create ZenHub Epics to match the lab’s default examples. For a dataset repo, these are: lit review + study design; setup + piloting; data collection + data monitoring; preprocessing. For an analysis repo, these are: lit review + analysis plan; analysis + interpretation; manuscript writing; peer review + publication.
-
Plan project issues (which may be large and abstract at this stage) and assign them to the appropriate Epic.
-
Organize the Project Backlog pipeline in ZenHub by putting the earliest Epic at the top, followed by its associated issues in priority order. This is followed by the next earliest Epic with its issues, and so on.
-
Launch the first Epic by moving the “Epic” issue and its associated issues to the Release Backlog in ZenHub.
Slack
When you request the new repo from the lab manager, a new Slack channel will be created. Appropriate permissions will be granted to the project lead(s) and other project team members.
HPC
When you request the new repo from the lab manager, project-specific folders will also be created on the HPC using the standard NDCLab filing structure. Appropriate permissions will be granted to the project lead(s) and other project team members.
Google Drive
When you request the new repo from the lab manager, a project-specific folder will also be created on the Google Drive. Appropriate permissions will be granted to the project lead(s) and other project team members.
Zotero
When you request the new repo from the lab manager, a project-specific folder will also be created on the lab’s Zotero group.
Off to the Races
Once the lab director has approved your planned roadmap and merged it into main, you have set up the project’s ZenHub workspace, and your project has been added to the HPC, Google Drive, and Slack, you are ready to launch. Set up your sprints inside ZenHub and plan your first sprint meeting with your team!