Python CI Workflow
Continuous Integration is the practice of automatically merging developer work that has been checked by tools into a main branch of work in a Version Control System.
This is necessary to check code for correctness when it is added to the repository and that it meets the Lab’s guidelines. This is a very useful way to make sure that the data that is being generated by the program or script is trustworthy.
Overview
GitHub Actions is a tool available to GitHub projects and is used to perform Continuous Integration (CI) tasks. Tasks include linting code and checking if the code complies with lab styling standards.
For python, we will use pylint a linter which will test code for syntactic errors and pycodestyle or a style checker for compliance with the lab code style guide. These are the two checks that will be used on all projects that contain Python code.
Using GitHub Actions on a Repository
To start a new Python project, create a new project and copy or download this template. This will include a YAML configuration file, a shell script, and a pip dependency text file.
The YAML configuration file will have the options to run the GitHub Action. The shell script run_tests.sh will be a Bash script that is called from the GitHub Action virtual machine to run the Python checks. The requirements-dev.txt file is a requirements file to install the Python dependencies needed using pip to run the checks.
Using GitHub Actions
Once you upload changes you can access the GitHub Actions by going to the “Actions” tab:

You will have workflows on the left, these are custom named CI workflows. By default all Python projects will have Python-CI which will have the lint check, code style check, and python tests check.
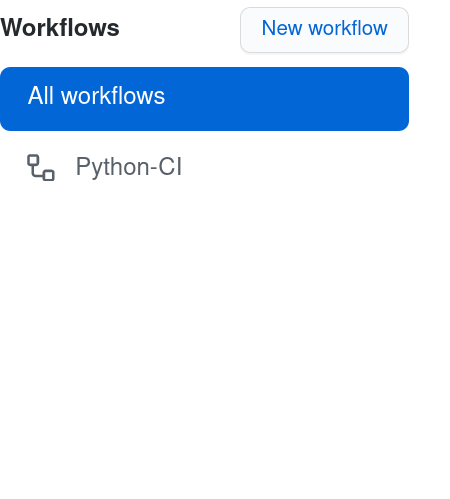
On the right, you will see “All workflows” which is a list of all results from running the actions.

To see a more detailed look click on the name in bold:
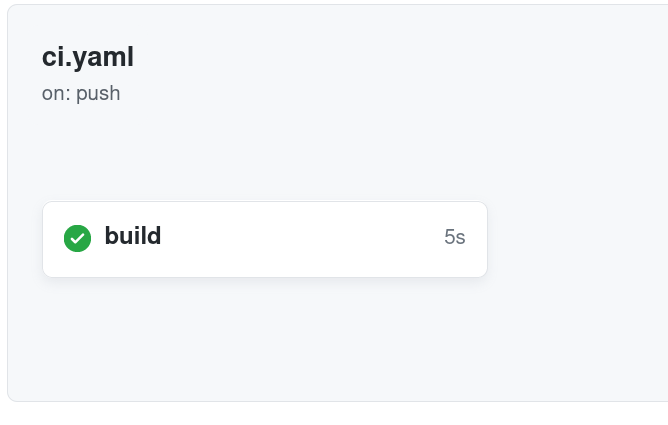
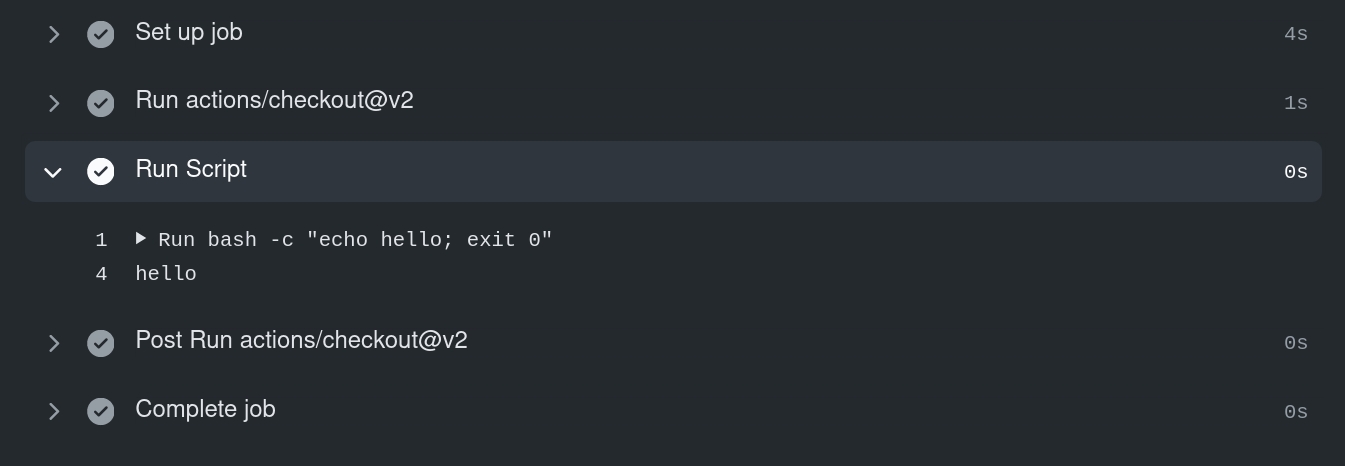
Here you will see the information for the job that was run and the to see the output log for the job click on the floating build button:
Note: Builds will run for the specific branch you have pushed, as long as the YAML configuration files exists so make sure when creating a feature branch that the
.github/workflow/directory exists.
Build Badge
A build badge is a simple way to tell the users of your code that the code is functioning correctly. This allows the user to decide quickly whether is worth it to try to go through the install or not. Without the badge, a user would have to risk downloading and installing the software only to find out it does not work. It also helps contributers and maintainers have an easy visual check of whether a branch is working or not.
To add the build badge to the README or any other document go to the shields.io site and search for “GitHub Workflow Status”. The two options to look for are “GitHub Workflow Status” and “GitHub Workflow Status (branch):”, select one by clicking on the name or build button. It will prompt you to write the organization/user and repository and then click “Copy Badge URL”.
Why Actions are Important
Code correctness and good style formatting. Testing code on every push to the repository, for example when submitting a bug fix, decreases the chances of re-introducing old bugs or introducing new ones Keeping code looking clean and well formatted using the lab style guide makes it so that anyone in the lab can look at someone else’s code and be able to better understand it. This makes it easier for collaboration to occur across teams, and people that would like to contribute to projects in the lab.